


Kitty Cat Meow Meow Cake

...and pipe your way to Meow Meow happiness.
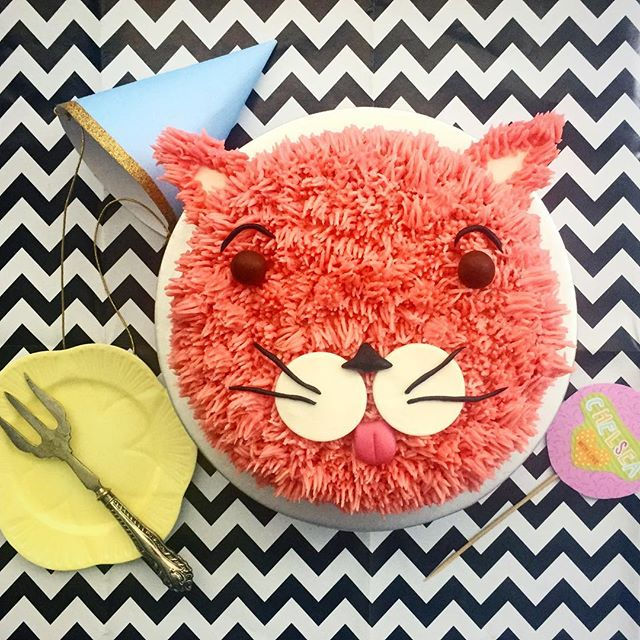
I don’t know about you, but for some reason my 8 year old niece is obsessed with cats. I’m going to blame the endless hysterical cat memes online, and her neighbour for going all free love and allowing her cats to procreate like its 1999. Resulting of course, in 5 adorably cute and precious kittens being brought into our lives. (Insert the endless requests for a Kitty Cat Meow Meow Birthday Cake from my equally adorable and doting niece.) …and why the hell not.
I must admit, in the kids party cake stakes – the animal kingdom trumps. My cake orders range from cows, to lions and monkeys (…oh my!) And now seemingly, cats. So, today I share with you my cute as can be Kitty Cat Meow Meow Cake, that is a lot easier to make that you think. Here’s the down-low:
How to make a cute as Kitty Cat Meow Meow Cake
(and impress your friends and family)
Step 1
Bake your favourite sponge or favourite flavour cake. Don’t have one to hand?
Try this traditional, super simple and fail proof spongey goodness here.
Step 2
Make your buttercream Icing – You’ll need some delightfully spreadable, pipable buttercream frosting for your Kitty Cat cutie. Get that here.
Lets Ice!
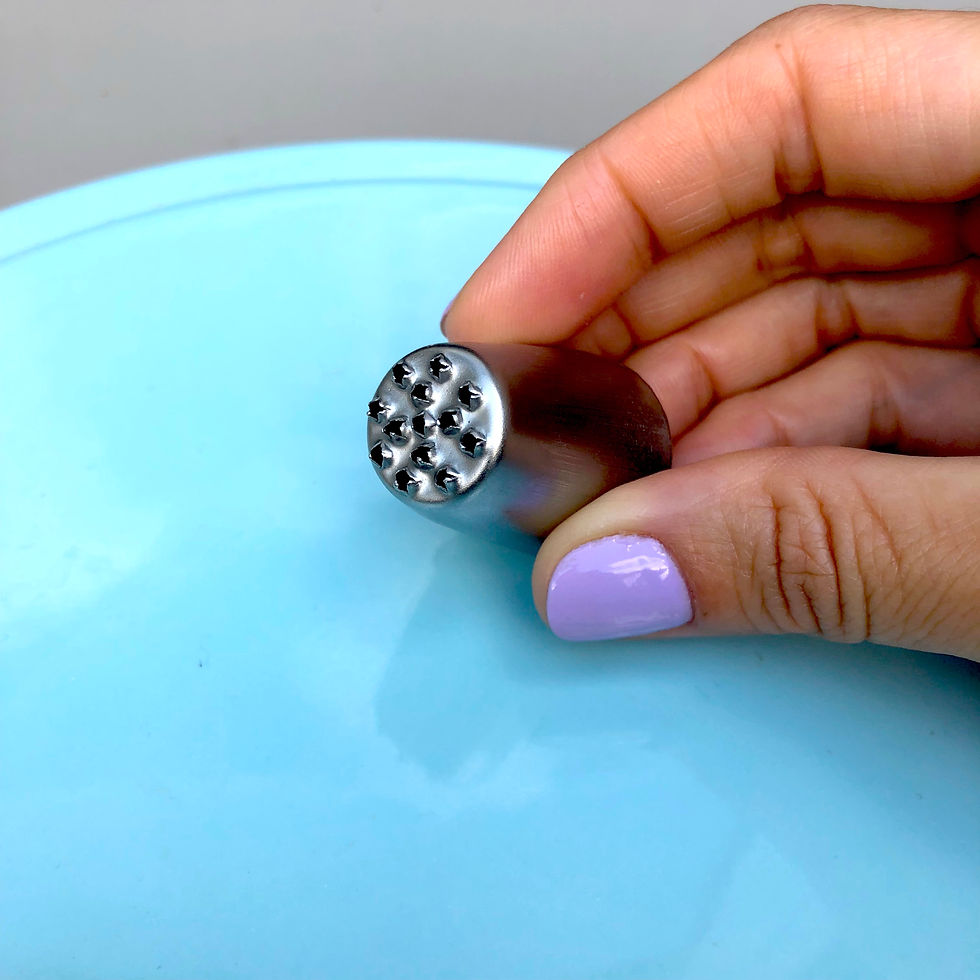
The trick to decorating this delectable feline is to use the right icing tip.
I use the Wilton Multi-Opening Decorating Tip 233. You can get this from any good cake supply shop - at last check, spotlight sold these for around $5 a pop.

Step 3
Once your cake is cooked, cooled and ready to ice, cover your cake with a good layer of icing (this is your crumb base). Once iced, I like to pop the cake in the freezer for a quick 10mins while I get the piping bag ready.
Don't worry about it looking messy at this stage - just layer it on and let is set.
Step 4
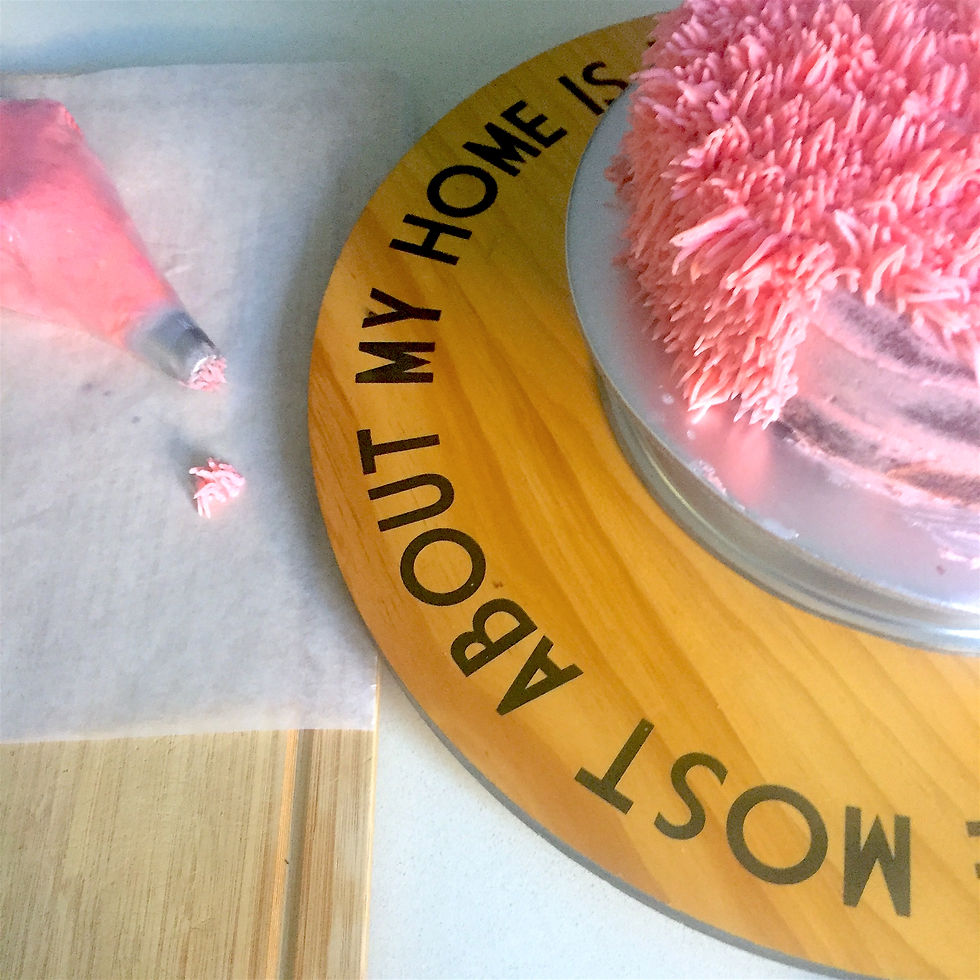
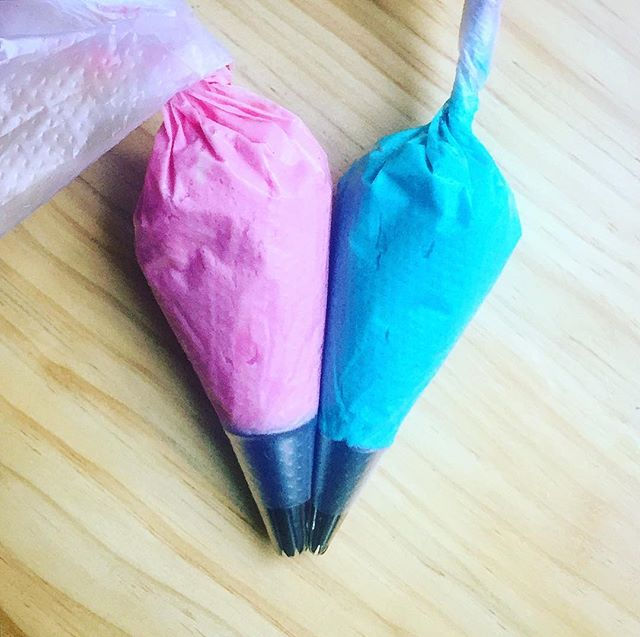
Fit your icing bag with your Multi-Opening Decorator tip, fill with freshly made buttercream icing at room temperature and give it a good squeeze.
If you're feeling nervy... have a quick practice of piping on a baking sheet. The trick to get your 'cat fur' to 'string', is to place the piping tip right up against the cake, give a quick squeeze and pull away slowly.
Once you've got the knack of it, pipe like crazy to make your way all around the cake:
Now that your cake is iced. Let's decorate!
Step 5
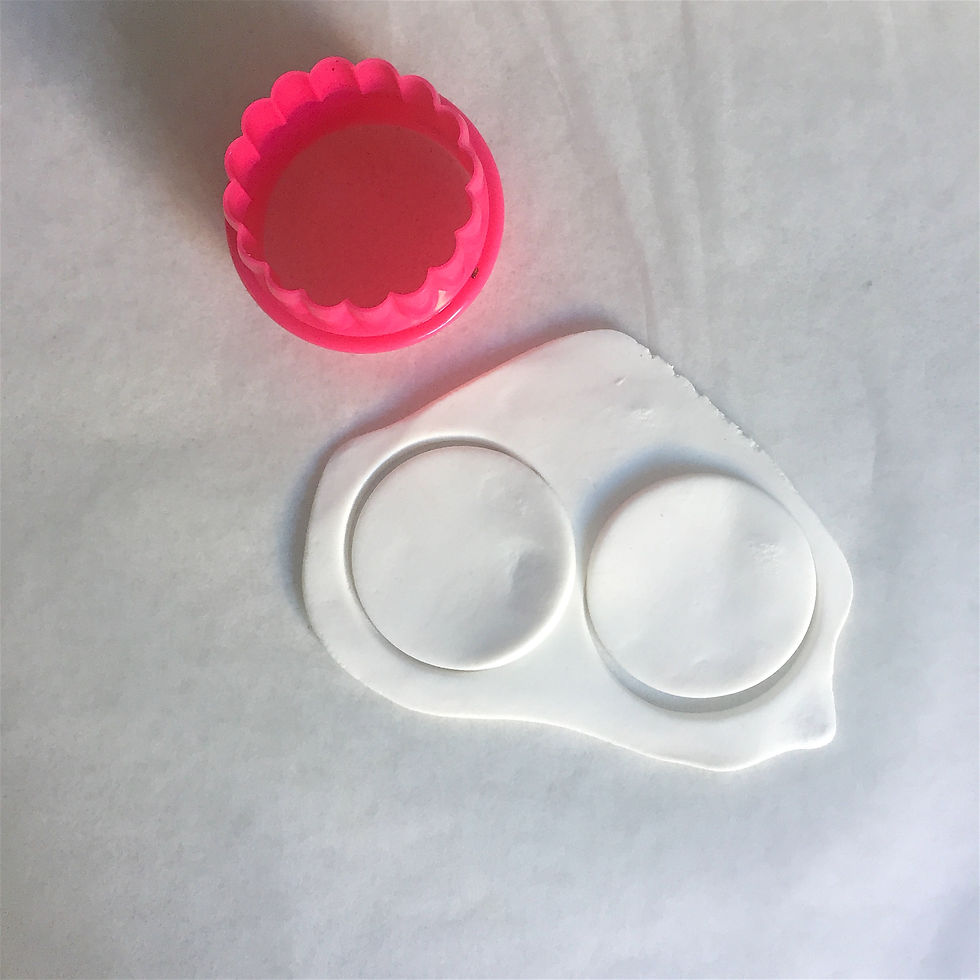
You'll need some white 'ready to roll icing fondant'. You can get this from any good cake supply shop or your local supermarket. Coles and Woolies both stock this in their baking isle.
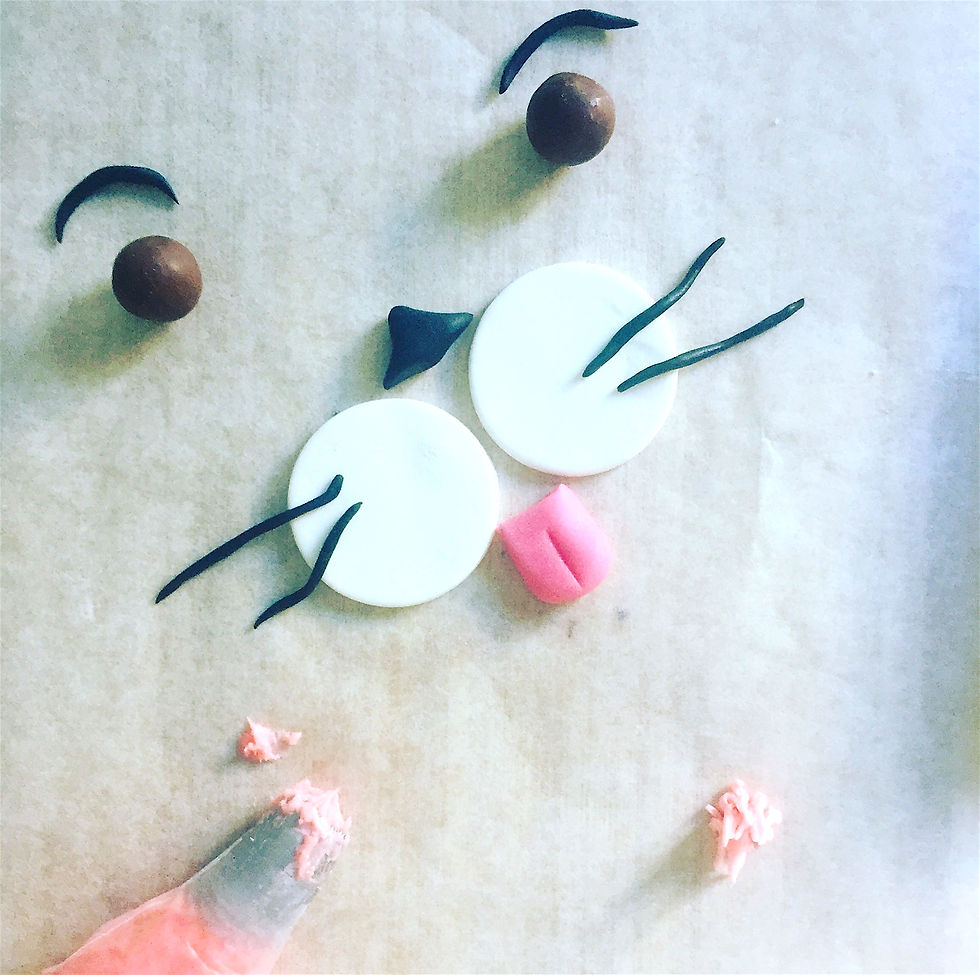
Roll out your white fondant to somewhere between 3-5mm thick. Use a cookie or scone cutter to cut out your Kitty Cat's 'cheeks'.
Step 6
Knead out black fondant and shape to make a triangular nose, eye brows and whiskers. I then used Maltesers for the eyes - but you can roll some black fondant into balls if you don't have these to hand.
Do the same with the pink fondant to make a kitty cat tongue. Don't have pink fondant? Just add a drop or two of pink food colouring to your white icing fondant and work in until colour is evenly distributed.

Step 7
Your are on the home stretch! It's time to make your Kitty Cat ears.
Cut out some white or pink coloured card into two triangle ear shapes. Fix a toothpick onto the back with some tape, this is so you can fix the ears into your cake without them falling off.
Step 8
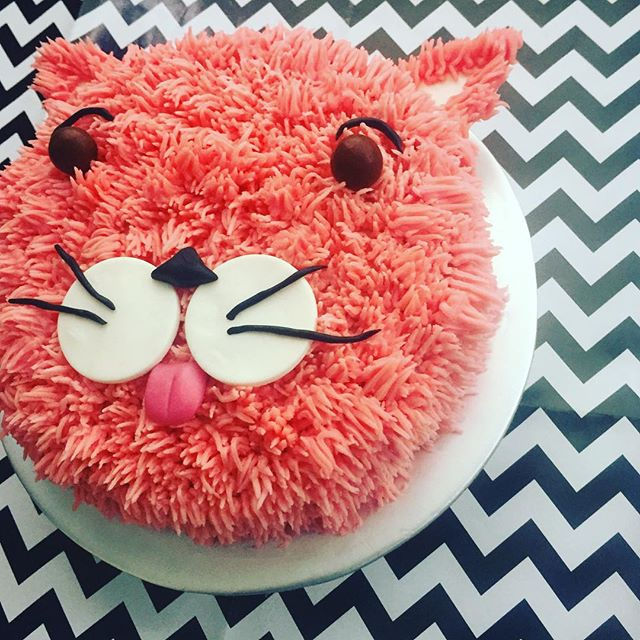
Arrange your Kitty Cat face to your cake, being careful not to knock over too much fur in the process.
Skewer your cat ears onto your cake and pipe on some extra 'cat fur' icing to finish the look.
And there you have it! You've piped your way to Meow Meow happiness.
Lick your paws and enjoy.
Bakers Tip: The fondant may be hard when you take it out of the packet to start with. Knead it well with dry hands to make it easier to manage. Continue kneading until supple.
Comments